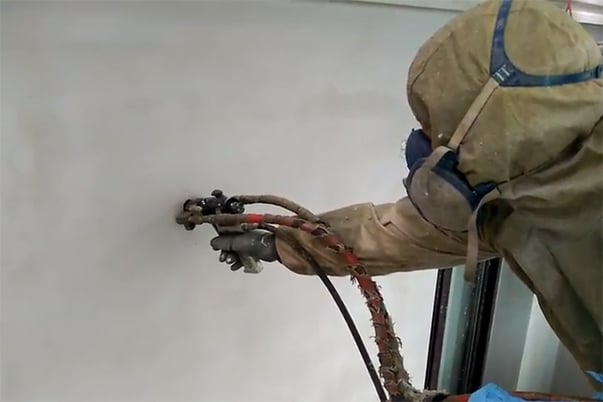
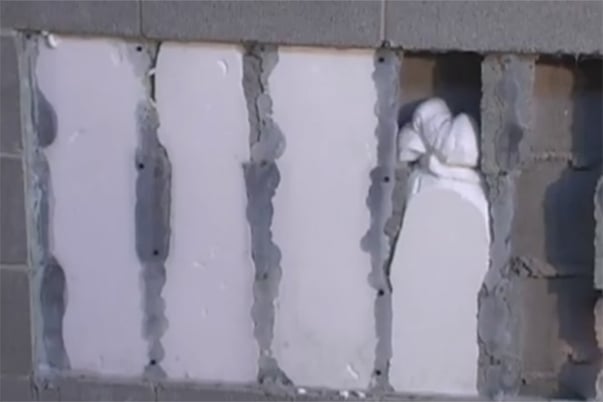
The application of injected polyurethane is mainly used in the filling of air gaps in façades or partition walls, mainly in cases of renovation works, in order to obtain optimal thermoacoustic insulation. In these cases, great care must be taken when filling the gaps or cavities between partitions to not exceed or fall short of the amount of insulation we inject. There is a danger that the pressure of the foam, when expanding, may crack or even pull the wall down, both by overpressure or shrinkage.
Polyurethane injection techniques are highly developed and require different controls during their execution. The first step is to carry out a preliminary study of the situation of the wall we are dealing with. It is recommended that the air gap has at least 5 cm of thickness, it has to be continuous and the recommended minimum temperature of the substrate during injection should be 5°C.

Polyurethane injection process
In order to inject polyurethane correctly into air gaps, we should start by making a series of holes or hollows in the interior walls which must be located at less than one metre from each other. Its worth noting that they cannot be aligned in a grid, but is more ideally applied in a diamond pattern. This ensures that all irregular shapes and voids are filled, which traditional methods of cavity insulation cannot do.
Subsequently, the polyurethane will be injected through these holes, always from the bottom upwards, in order to achieve an optimum filling of the air gap. Inside, the polyurethane will begin to expand, filling it completely and reaching all corners, adapting to the interior surfaces.
Once the injection is completed, the holes or hollows made will be closed and the faces will be uniform. Polyurethane, being a rigid material and filling in all gaps and cracks, helps to improve the structural stability of the walls.

Problems during application of injected polyurethane
Below are listed some of the most common problems that can arise during the application of injected polyurethane, along with its possible causes and solutions:
- Irregularly shaped hollow: the gun needle may be incorrectly regulated (adjust position) or there may be dirt in the mixing gap (clean the gap).
- Colored veining hollow: poor mixing due to component clogging (check pressures and/or repair clogging) or viscosity differences (adjust and raise temperatures).
- Poor and closed hollow: the viscosity of the components may be high or the environment may be cold (raise temperatures and pressures).
- Very open hollow with fog formation: too much air at the gun tip (decrease air flow) or too much mixing pressure (reduce pressure a bit).
- The material takes a long time to react, it loosens: the surface is cold (raise the heating of the hoses).
- Excessively fast material, irregular and foggy finish: there is excessive pressure (lower air pressure in the gun and mixing pressure).
- The material reaches the granulated surface and obstructs the gun: there is an excess of temperature (heating of the hoses must be reduced).
- Bubbles are formed randomly on the surface of the material: the surface on which it is applied is too hot (it is necessary to wait for the surface to cool down) or there is contamination caused by the previously used product (it is necessary to allow some more product to pass through the hose).


